6 Steps to Planning a 2022 Brand Photoshoot
I love chatting with clients about prepping for their brand photoshoots. I’m passionate about tthe planning process, because I want them to feel confident stepping in front of the camera and ultimately loving and using their brand photos.
What I almost forgot was what it’s really like planning for a shoot when I’M the client! I don’t have a photographer to plan the shoot with me like I do for my clients, so I can relate to how overwhelming it can be, especially if you don’t have the experience.
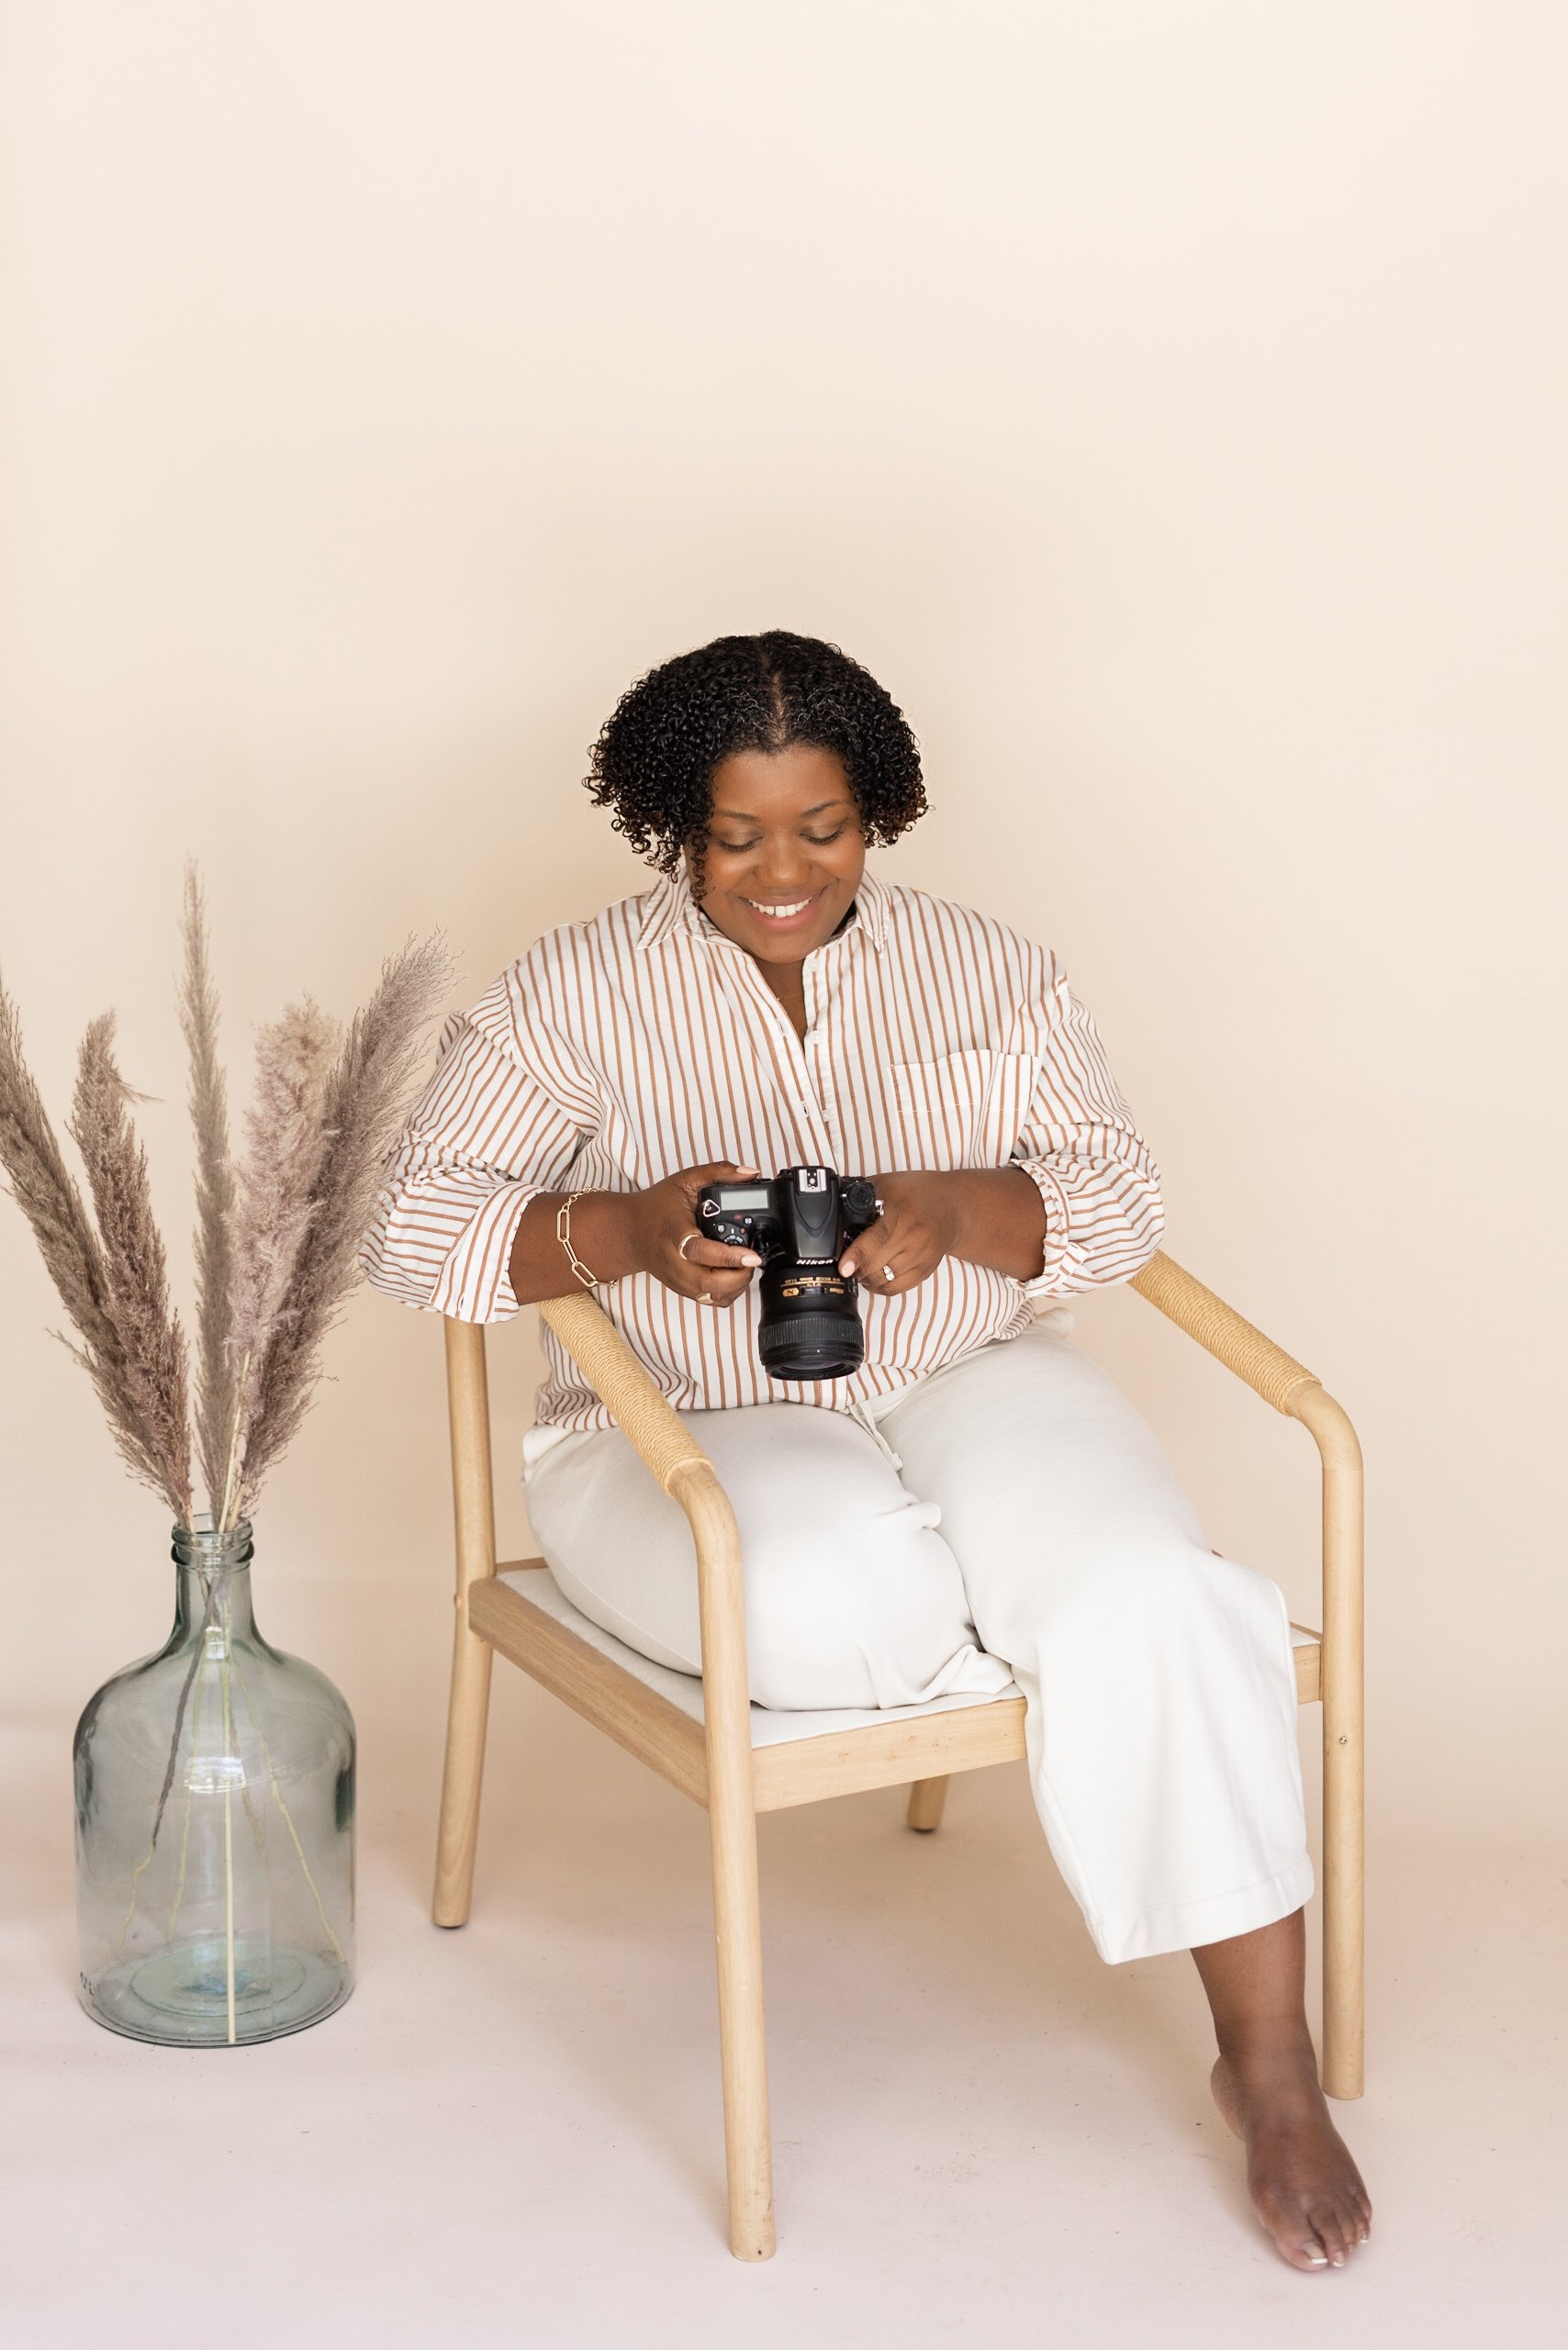
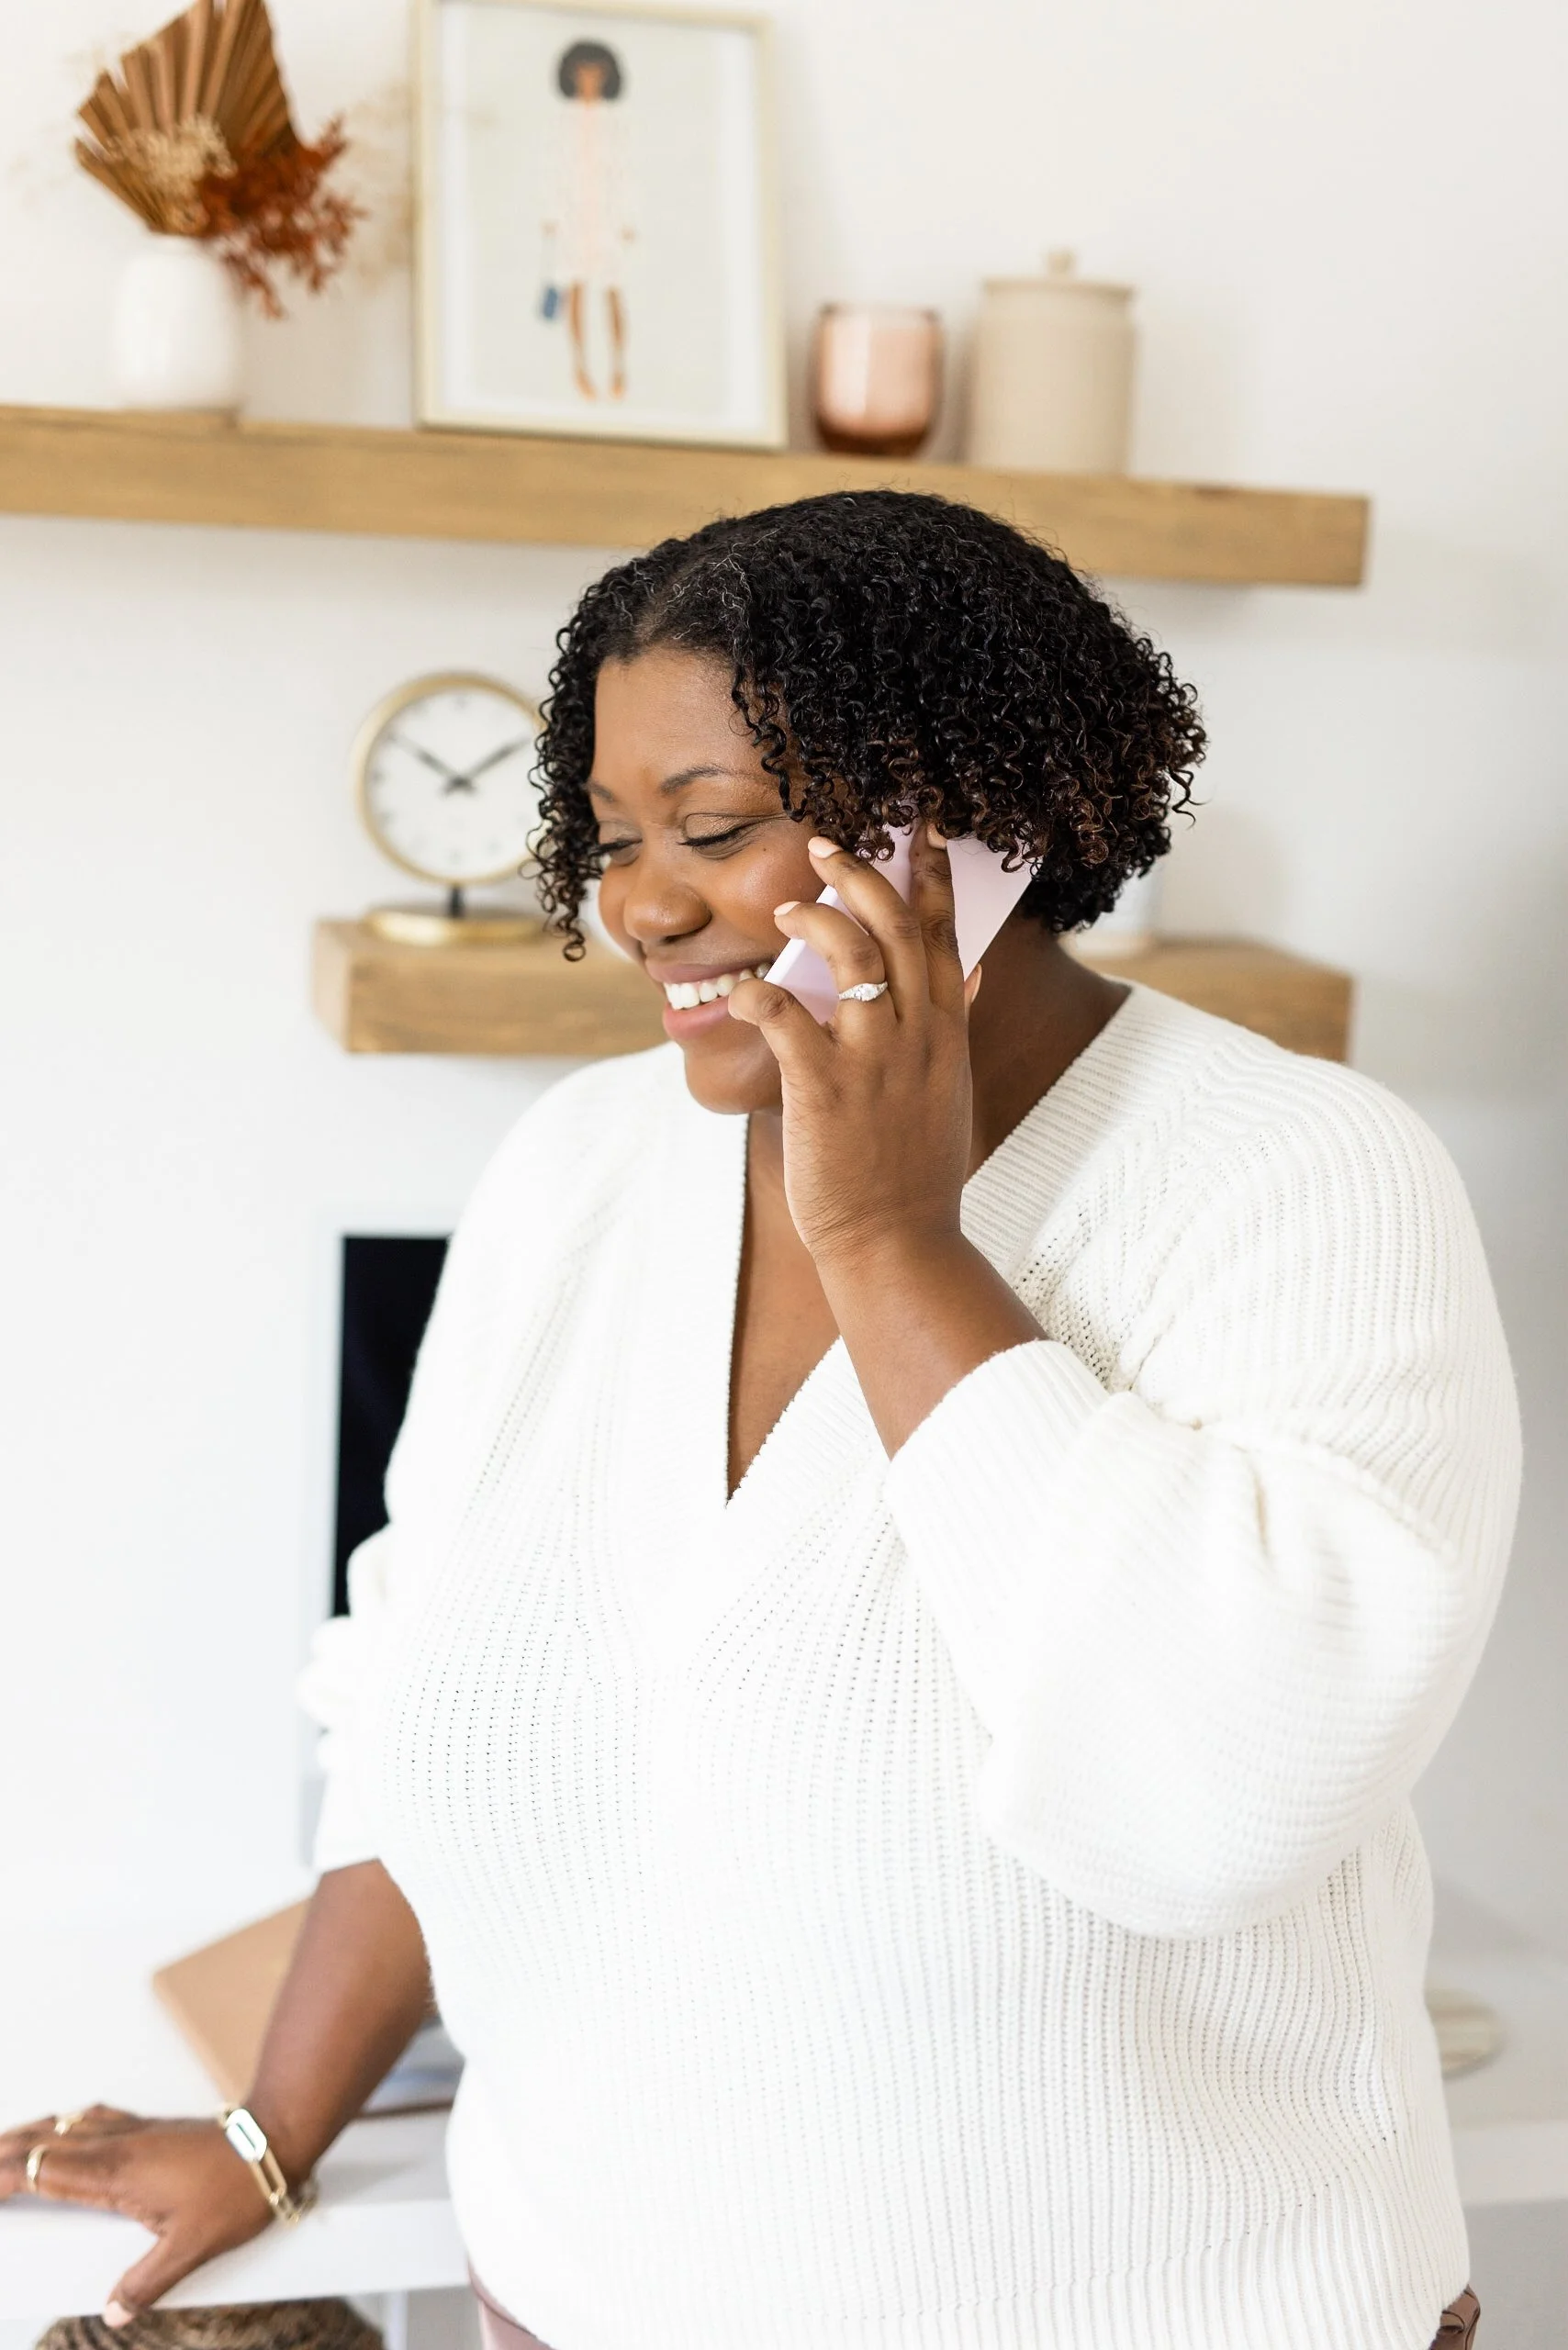
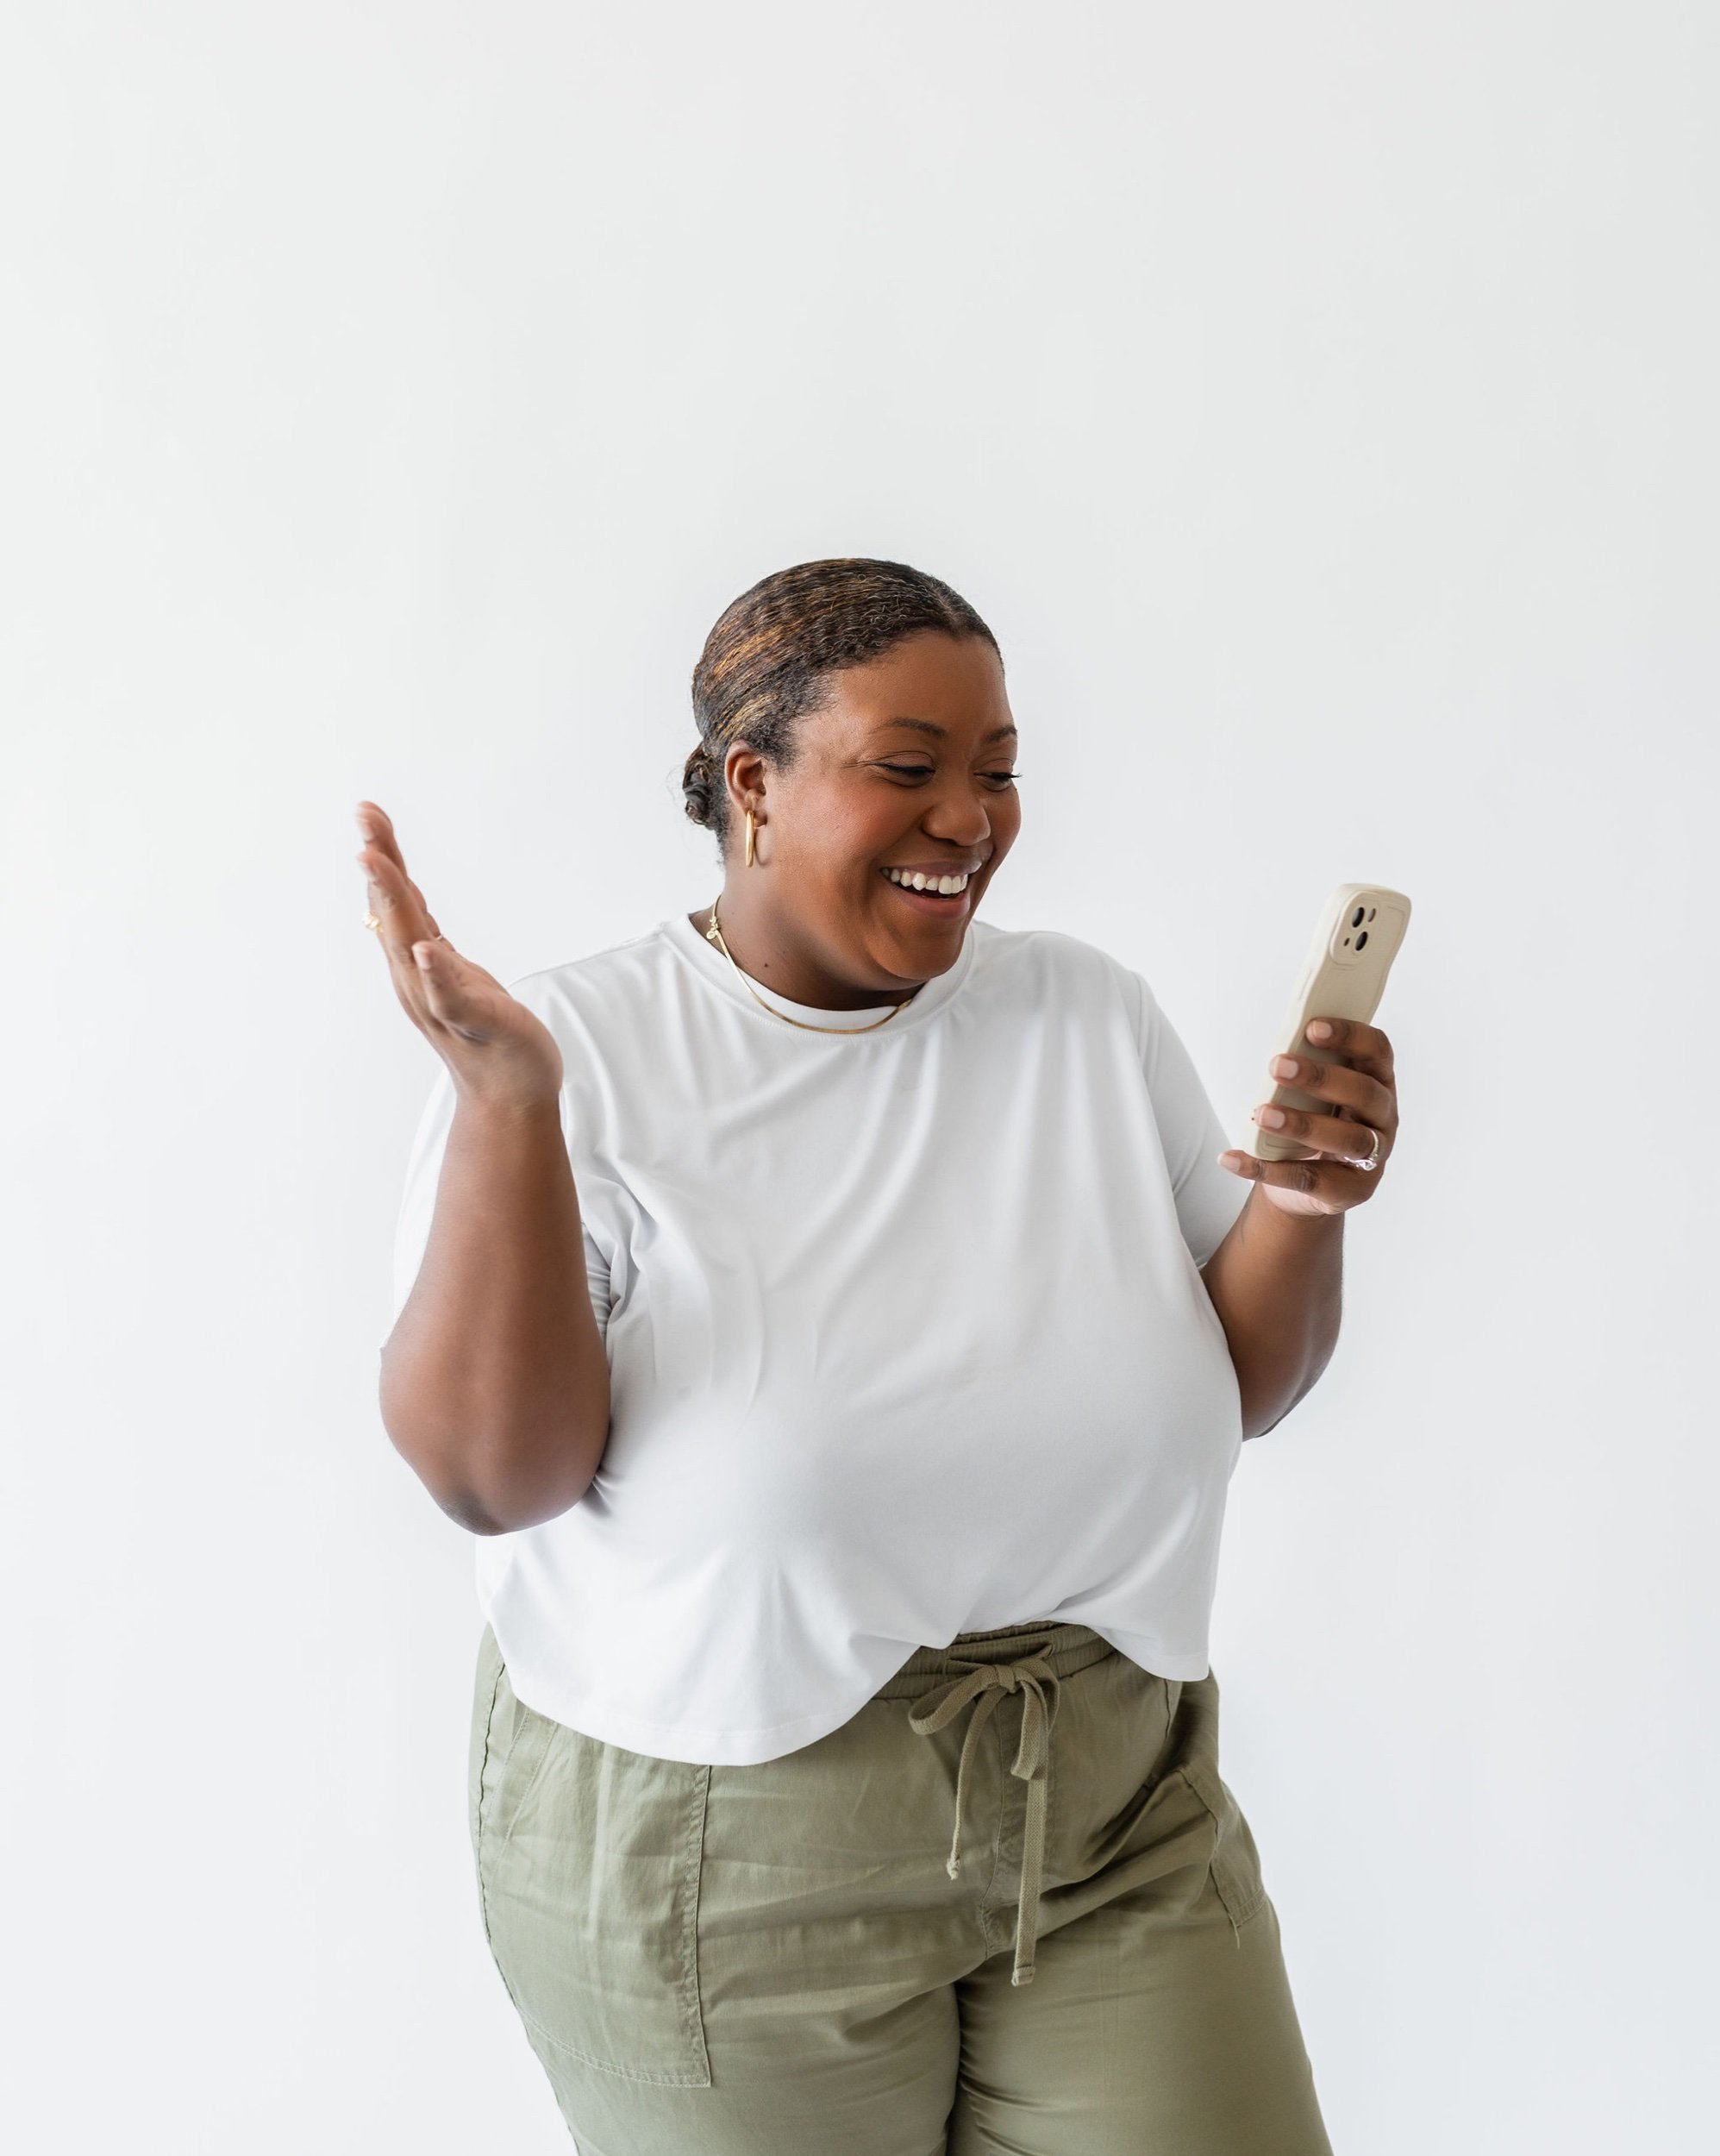
So, I wanted to share how I planned my most recent shoot and you can check out the final images below!
Step One: Set Intention
I knew going into Q1 of 2022, I wanted to consistently promote my offers, update my website and create a lot of content. I usually shoot at least once per quarter (usually more), and it had been a few months since my last shoot. So, it was about time to set my intentions for the images, and schedule a shoot. I usually have my assistant take the photos, but this time I wanted to hire a local photographer.
It’s important to know why you’re shooting content for your brand, and how you will use the images. Are they primarily for social or for your website or both? Do you plan to promote in stories? Will you use any images for website, Facebook page or e-mail headers? Once you know how you will use the images, communicate it to your photographer so the can plan to shoot both horizontal (landscape) and vertical (portrait) images.
Step Two: Create a Moodboard and Shot List
I say this is step two, but I’m usually updating my moodboard all the time ha! It is important to have some sort of inspiration before the shoot, so you know the aesthetic you want to achieve, regardless of who is taking the photos. The moodboard should have the color palette, poses, similar wardrobe and overall vibe of the shoot. I like to create my moodboard on Pinterest because it’s shareable and easy to reference while I’m shooting. I also save posts I like on Instagram and then share them to my moodboard later. Pinterest also recommends similar pins to the images you pin to your board, so it helps me build a moodboard with ease.
Here’s a snapshot of my moodboard:
Once you’ve created the moodboard, it’s time to create a shot list! If you’ve never created a shot list before, it’s literally a list of the shots you want to get. The shot list can be as brief or as detailed as you’d like. I love collaborating with my clients and helping them brainstorm ideas for theirs. It helps them feel more prepared, ensures we don’t forget any important shots and helps me understand their needs better. If this is your first brand photoshoot or the first time you’re really creating content for your brand with intention, here are some suggestions on what to add to your shot list:
lifestyle headshots
behind the scenes of your processes
mock client session (virtual or in person)
your business tools and anything that relates to your personal likes (ie. props from home)
Use the shot list as a guide during the shoot, and use it to document every aspect of your process from the time a client inquires to the end result. I also like to pull some personal details from my clients' About Page to make it more personal to their brand story. Download my free shot list template to get started planning!
Step Three: Choose a Location
I decided to shoot in my studio, because I recently purchased a new desktop computer (I’m obsessed) and wanted to get some “working style” shots at my desk. Most of my client sessions are also at my studio, so I wanted to capture some images of me around the space to give future clients some inspiration as well. Also, I decorated the studio myself, so it feels like my brand! The most important thing about choosing a location for your brand photos is to choose a location that aligns with your brand personality.
Some of the locations my clients love are:
Studio
Home office
Styled home (my go-to is Home Studio List)
Coworking space
Park
Beach
Downtown
Clubhouse
Coffee Shop
Hotel
You can always search local hashtags, location tags or accounts dedicated to local spots in your area. You can also checkout locations local influencers tag in their posts for ideas. Or ask your photographer! They’ve likely shot in a ton of different places, and know which ones have the best lighting.
Step Four: Choosing wardrobe
I love shopping for clothes! Did I say I love shopping for clothes? But when it’s time to curate outfits for my own shoot, it’s such a challenge for me! I think it’s because I want everything to perfect and tend to overthink it. Can you relate to this?
My go-to brands are Target, Madewell, H&M and Eloquii. I tend to lean toward more casual, relaxed outfits, but I wanted the looks this time to be slightly elevated. Here are the pieces I chose for this shoot:
The tops fit great, but I could’ve sized up in both of the pants. They were my usual size, but both pants fit more straight in the hips and ya girl is curvy! I went with more jewelry than I usually do, but I wanted to get more detail shots of my hands typing on the keyboard, holding my phone, camera and other props.
Honorable mentions are hair and makeup. I recommend giving your hair a good wash and spend a little extra time on styling. If you’re hiring a hair and makeup artist, please don’t try a new hairstyle or hair color before your shoot! If you don’t like your hair or your makeup, you won’t like the images. You may not even want to show up for the shoot. If you want to try something new, do it well before your shoot so you have enough time to change it.
More honorable mentions are skin and nails. Pamper yourself before your shoot! Give your skin a good exfoliation from head to toe. You want smooth, glowing skin. And if you can swing it, get your nails professionally done! They’ll look great in those details shots of your hands on the keyboard, holding your favorite beverage or writing in your planner.
Step Five: Gather Props
Incorporating props in your brand photos is a great way to tell the story of your brand. For example, if you like to share content around personal or professional development, create images of you reading books, listening to podcasts and watching Youtube videos.
Add these prop ideas to your shot list if they align with your brand:
Your tech (laptop, tablet, phone, smart watch, earbuds, etc)
Books or magazines that you currently read or recommend to your clients
Business cards or any printed marketing materials (t-shirt, mug)
Any digital resources you have (ebooks, templates, etc)
Printed quotes (framed or on your favorite coffee mug)
Champagne, confetti, balloons if you are celebrating anything
Step Six: Choose a photographer
I put this step last because the reality is, regardless of who is shooting your photos, if you don’t have a plan for how you want your brand photos tot look and how you plan to use them, you likely won’t find the best photographer for the job. Plus, you will end up with a catalog full of beautiful images that you’ll never use because they weren’t created with true intention.
I found my photographer Jommy through my client base! She booked one of my mini sessions, and I loved her work. So, I asked her to shoot my brand photos.
The best way to find a local brand photographer is to do a Google search to include your city. For example, I’m in the Tampa Bay area, so I would search Tampa Brand Photographer or Tampa Photographer. You can also search local hashtags with the same search terms on social media, or location tags. Check out some of the local influencers and businesses you follow to see if they tagged their photographer. Or if you stumble upon a friend’s post who just shared her new brand photos and you love them, check out the photographer she tagged on social media and their website, pricing and reach out for availability!
My New Brand Photos
I’m so proud of these images. Everytime I plan a photoshoot for my personal brand, it helps me get better and better at the process. It also makes me a better content creator and expert, and help my clients get better results from their sessions.


